This Post May Contain Affiliate Links. We earn a commission if you click this link and make a purchase at no additional cost to you.
I was recently asked how to organize baking dishes after I did a tutorial on how to organize pots and pans. I had to admit, I hadn’t organized my baking dishes in a while. We don’t use baking dishes often so that cabinet had gone unnoticed. Whoops!
So I thought I’d take on the challenge and finally organize my cabinet of glass baking dishes. Here it goes!
How To Organize Baking Dishes
I store my baking dishes in the cabinet right next to my oven. I don’t use glass baking dishes that often so I wasn’t too concerned about how functional the cabinet was. But to be completely honest, it was far from functional!
I have a lot of baking dishes and storage containers. I received most of these as a wedding present and hated to return them, so here I am with a cabinet full of glass baking dishes I never use.
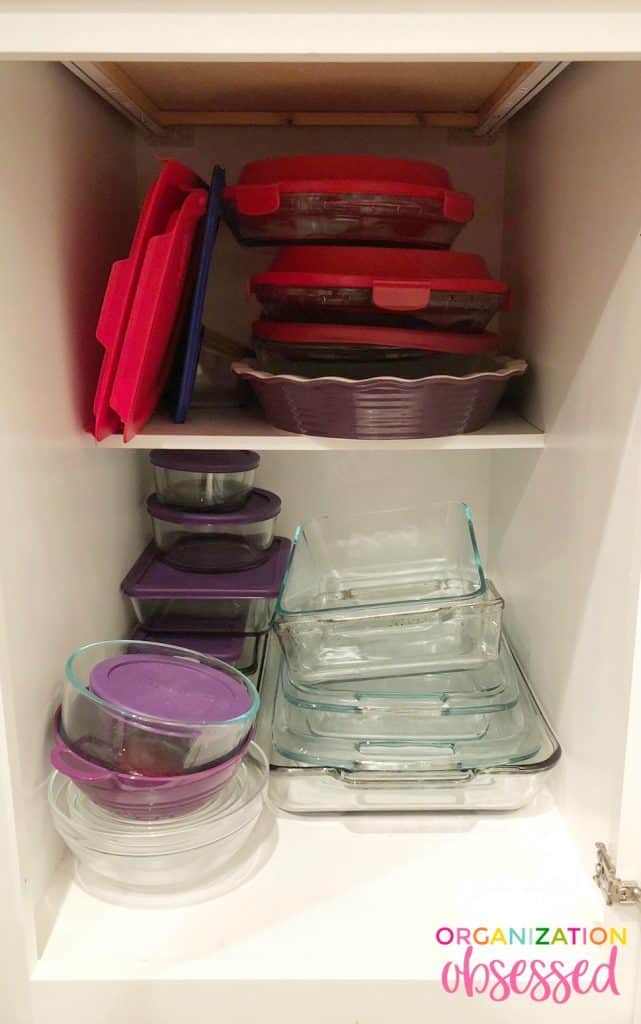
They were all just stacked on top of each other. Whenever I needed to use one I would have to pull out almost all of them to get what I needed. And most of the time the one I needed was on the bottom. Typical, right?
This is what my cabinet looked like before I organized it.
Not terrible, but not great and definitely not functional!
It was definitely time to properly organize it.
What You Need to Organize Baking Dishes
When I was trying to decide what to use to organize my baking dishes, I really wanted an adjustable bakeware rack. I checked Walmart first and then TJ Maxx. Neither had what I wanted, so instead, I went with heavy duty cabinet corner shelf racks.
I knew if I turned them up on their side they would be perfect to hold my baking dishes in place. Since the shelves were wide I knew I wouldn’t have any trouble getting the bakeware to fit and they are heavy duty and wouldn’t fall over.
This is very similar to the one I used.
Step By Step to Organize Baking Dishes
To organize my baking dish cabinet, I first started by removing everything from the cabinet. Next, with Windex and a cleaning rag, I wiped out the cabinet.
Then I grabbed leftover contact paper from our camper remodel to put in the bottom of the cabinet. I wanted the cabinet to match our pots and pans cabinet that has this contact paper as well.
Since it is a smaller cabinet, I measured the cabinet first to see how much contact paper I needed. I cut a 16″ section from the roll of contact paper and laid it down. It was quick and easy!
Next, I took inventory of all the glass baking dishes I had. I had to be honest with myself and realize that I had way too many. There were some glass storage bowls that I had never used and knew I would never use in the future. So I decided to toss them out.
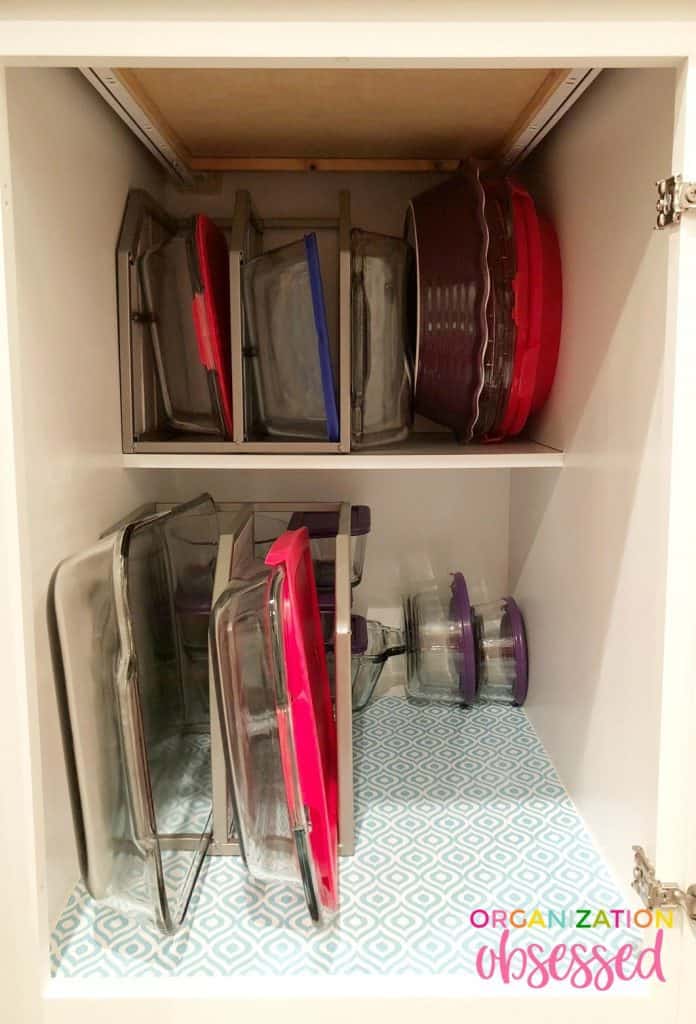
Once I knew what I wanted to keep, I started placing them back in the cabinet. I put the glass food storage containers in the back of the cabinet.
Next, I placed the cabinet shelf organizer on its side and directly in front of the storage containers. The shelf gave me a place for two baking dishes so I placed the largest ones I had on the bottom.
There wasn’t enough room to place both cabinet shelf organizers side by side like I had originally planned, so I placed the second one on the shelf above. In this shelf organizer, I placed two smaller baking dishes inside the shelf organizer and one on the outside.
Lastly, I put three pie plates leaning up against the smaller baking dish on the outside of the shelf organizer.
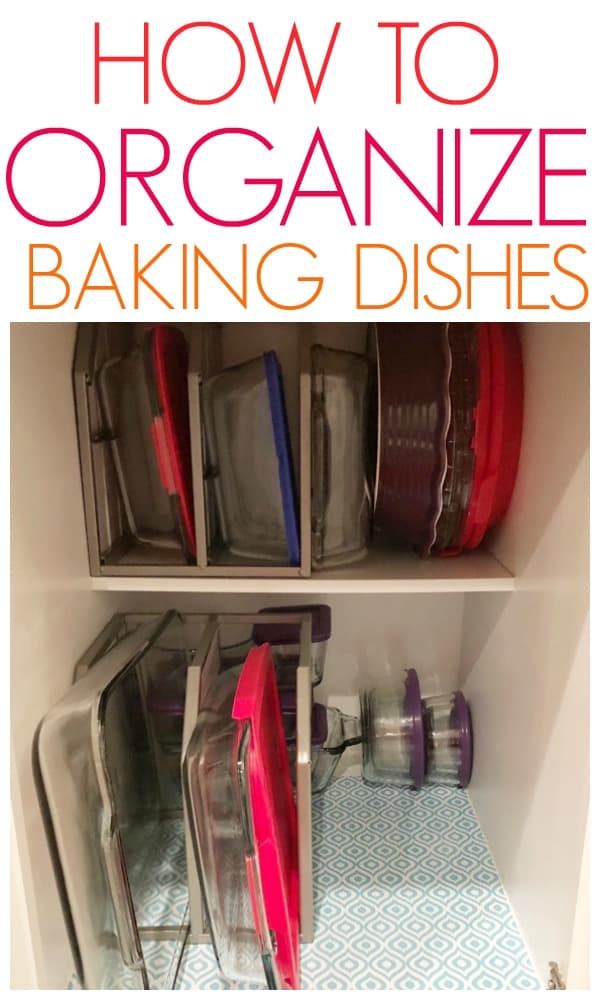
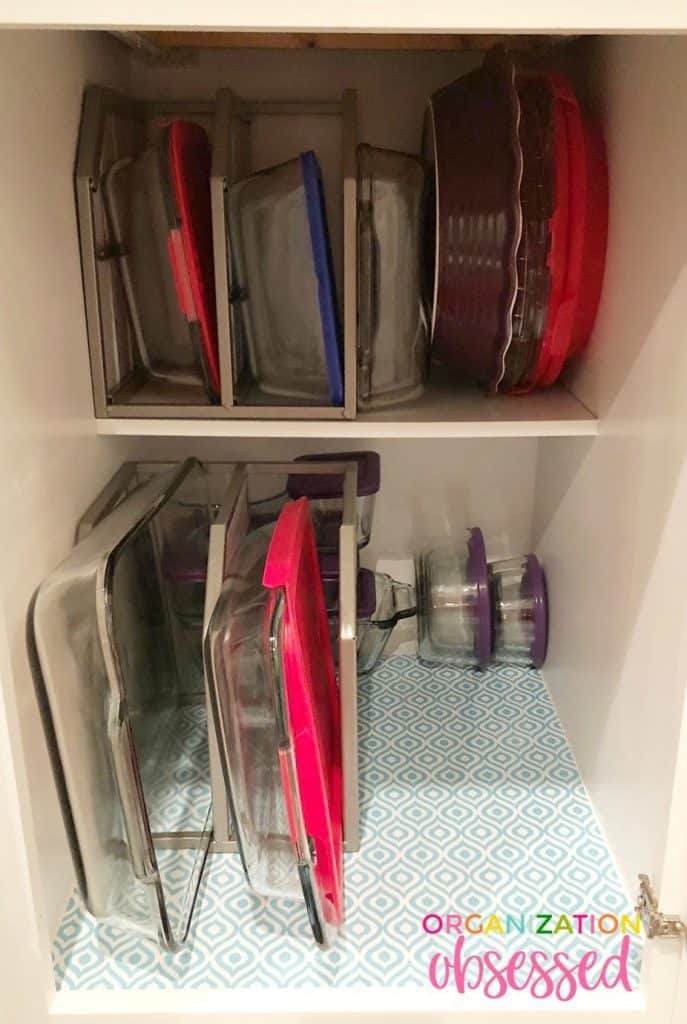
The Final Organized Baking Dish Cabinet!
Everything fits really well and I even have extra space! How unheard of is that in kitchen cabinets!
So there it is! My quick tutorial on how to organize baking dishes! I did this all in about 20 minutes. Once you have the right tools you could easily accomplish this in your own kitchen!
Comment below and let me know how you organize baking dishes!

