This Post May Contain Affiliate Links. We earn a commission if you click this link and make a purchase at no additional cost to you.
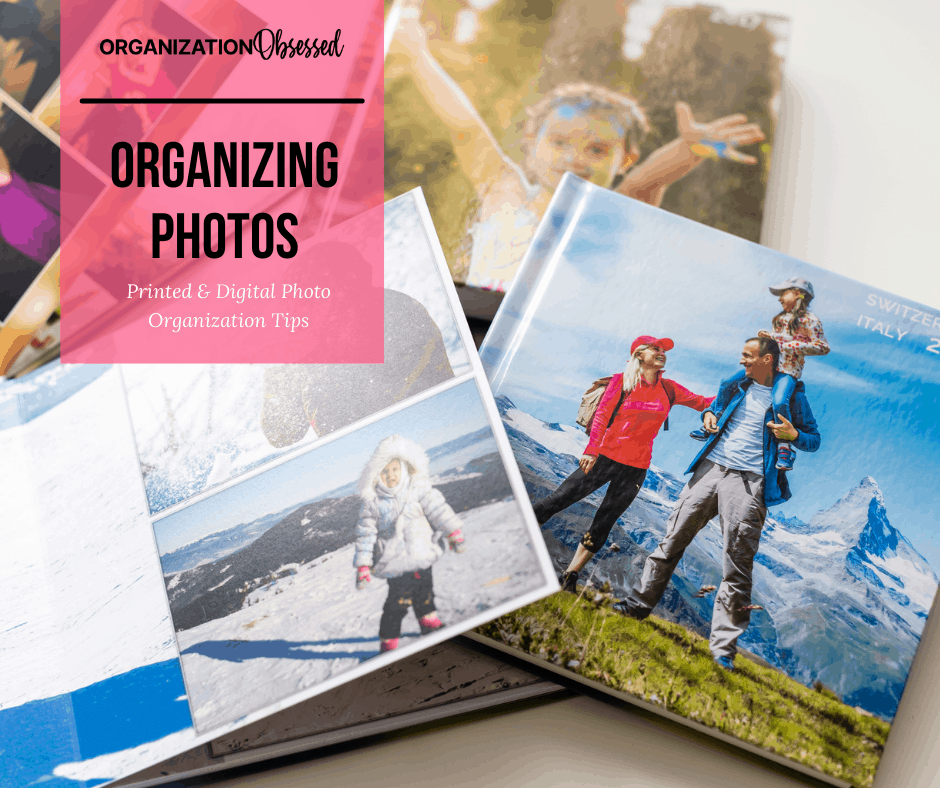
Wondering how to organize photos the best way possible? These photo organization tips will help you organize digital photos and printed photos easily! Tackle your photo organization project this year!
Organizing Photos 101
Right when your child is doing something so cute, you pull your phone out to snap a photo and get the message “storage full.” While cell phone memory storage has continued to increase over the years, so has our desire to document our entire lives.
We take photos of our pets, our kids, our friends, our projects, our food, and just about anything else that strikes our fancy. My newest phone was 7 months old when storage full hit.
What are we doing with all of these photos? For the most part, they stay locked in our phone until the phone tells us it’s full. While cell phones hold the majority of our photos, we also have memory cards, old CDs, printed photos, even old Polaroids are hanging around our houses.
This year can be the year that you finally get all of your photos, organized, displayed, and protected.

Ways to Organize Digital Photos
Digital photos are on every device in our house. Computers, cell phones, tablets, even some gaming systems are crammed full of photos. The question is how can you get on top of this digital clutter of photos?
Here is my step by step process of working through all the digital photos:
- Delete junk photos.
- Delete screenshots you don’t need.
- Back up your relevant photos to a cloud service.
- Print your favorite photos.
- Display favorites in digital frames.
Step 1: Delete Junk Photos
We all have those junk photos. They were fun for sharing on social media but they aren’t something you would want in your family photo album or hanging on your walls.
These include photos of food you wanted to share, silly selfies that you don’t want anymore, images that you needed to send someone. I’m guilty of snapping a photo of things I wrote down that I don’t want to lose, like grocery lists or daily to-do lists.
The best thing I have found to do this on your phone is an app called Gemini Photos: Gallery Cleaner. It helps you clean up your camera roll by getting rid of useless photos and freeing up space to capture some heartwarming memories.
Step 2: Delete Screenshots You Don’t Need
Deleting screenshots should be a simple step but there are a few things you may want to consider before deleting.
Don’t delete any screenshots you may need for a court case or other legal actions. You need to save those and back them up.
Another type you may want to keep is any sentimental screenshots. These are cute conversations you had with your child, a touching text with your loved one, and anything that gives you the warm fuzzies.
We don’t pen letters to each other like generations, instead, some of our most heartwarming conversations are sent over text messages. If you want to preserve those screenshots go ahead and keep them.
Any other screenshots that don’t fit in those two categories and are no longer useful, can be deleted.
Don’t hate me but I’m coming for your memes. If you have more than 100 memes on your phone, time to pair down. Use the ones you want and save the ones you use frequently.
Once you have deleted, all the junk photos and you only have your favorites it’s time to back your photos up to a cloud service.
Step 3: Back-Up Your Photos to a Cloud Service
Hopefully, this has never happened to you, but one time my phone broke and had to be replaced and I lost all the photos on it.
Remember that 75% of photos are taken on a cell phone statistic from before. Well, that means 75% of photos of our family for an entire year were gone. The few that I had shared on social media were still there. For the most part, the entire year of photos was gone.
But did you know that if you have Amazon Prime, you also have unlimited photo storage through them?
Yep. You can get an app on your phone to back up all your photos, but you can also back up all the photos you have on CDs, SD cards, computers, and anywhere else you might store digital photos.
Or if you have a Gmail email, you can backup your photos on the Google Photos App. The storage is not unlimited, but you can back up thousands of photos before you would need to pay.
Set a time to sit down and backup all your photos to the cloud service you decide.
On top of downloading to a cloud service you may want to also get a keychain USB that you can load important photos, copies of important documents. That way it’s always on your keys and if there was ever a natural disaster or you had to leave your home quickly, when you grab your keys and all that goes with you.
Step 4: Print Your Favorite Photos
When was the last time that you printed any photos from your phone? If you are like me, it’s probably been a while.
There are several options to print your photos, I’ll give you a few. Decide on what fits your life the best.
Shutterfly: Shutterfly is a photo printing service I have used for over 10 years now. I have photos saved on Shutterfly since I was in middle school! They are one of my favorite photo printing services because they offer 4×6 prints for free when you order from their app! Plus they have tons of other printing options like canvases, books, etc. Besides my photo prints, I also order lots of gift from them for the holidays.
Chatbooks: Chatbooks is an amazing service that offers printing from social media, your camera roll, or uploading directly to their website. Then you get books that last more than 100 years with all your photos.

Step 5: Display in Digital Frames
Digital Frames have come a long way. And displaying a constant rotation of your favorite photos couldn’t be easier.
With a frame like this one, you can display photos and short videos in your home without printing them.
It’s a great way to share all the images you capture without filling all your walls with photos.
The best thing is these connect to wifi so that friends and family can send you photos directly to your home.
It also makes a perfect gift for grandparents, so that they can constantly get new photos and videos from all their grandkids.
How To Organize Printed Photos
Now that you have tackled your digital photo problem, let’s tackle all those printed photos both old and new.
Print them into Photo Books
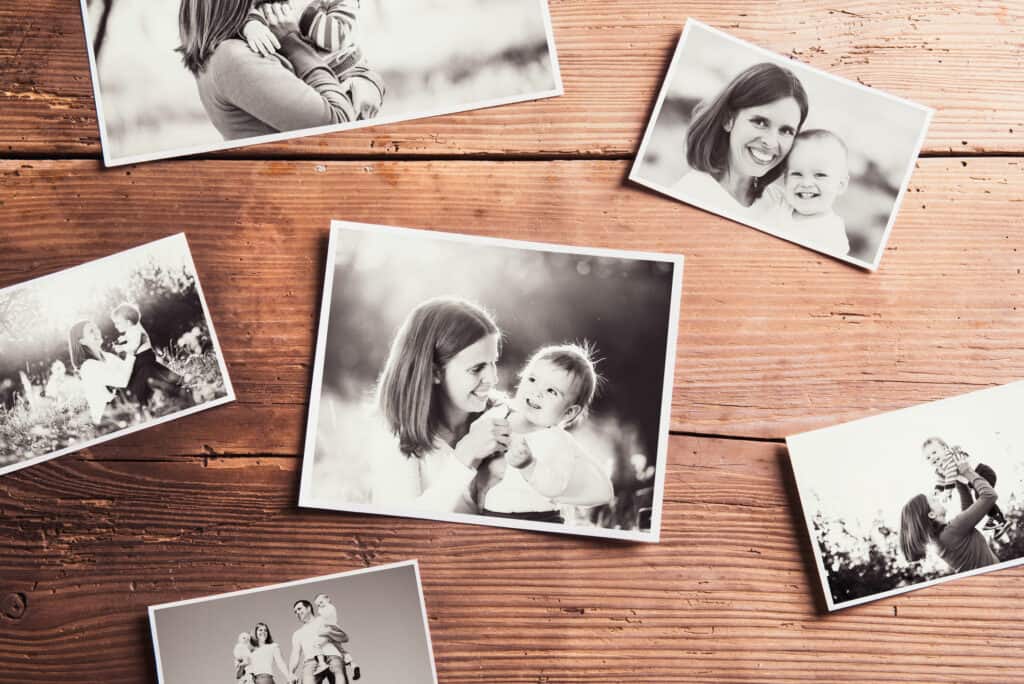
You can use a service like Shutterfly or Chatbooks and have all your photos printed into books. The easiest way to get them into your phone is to snap a photo of each picture. Is that going to give you the best quality? Probably not but it does solve the problem quickly.
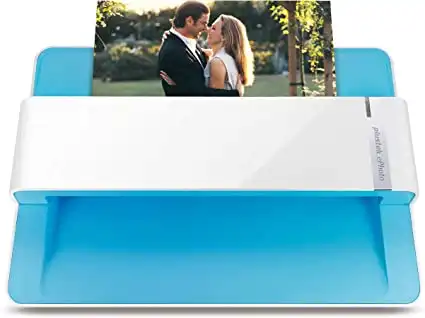
If you want a better quality of your printed photos, this scanner does an amazing job on photos. It gives you high-resolution scans that you do not have to crop. You can put a stack of photos in the feeder and it will scan all of them and it scans both sides and only saves the side with an image.
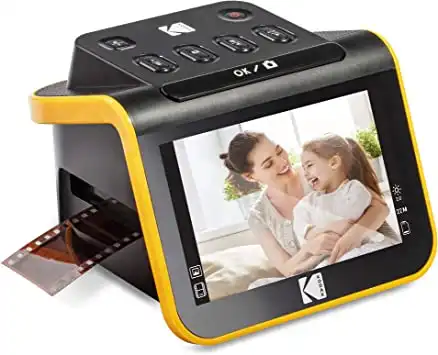
Now if you have a lot of old developed film strips that you want to get the photos off, they have this amazing device! The Kodak Slide n Scan Film and Slide Scanner takes all your old slides or developed film and scans them into digital images. The images are great quality. It does color and black and white photos.
Once you have everything scanned in and digital you can turn it into photo books.
Don’t forget to back these up to your cloud service and save them to wherever you decided to save your other films. Two backups is always the best practice.
Organize Them into Photo Boxes
Now that you have turned your physical photos into digital images and backed them up. Let’s explore some ways you can organize them. The first way is to put them in photo boxes.
Photo boxes are the quickest way to get your photos organized in something that will keep them from deteriorating. I love how fast and easy it is and the fact that it still looks great and your photos can be put into a living room or sitting room and have access to them easily.
Here are some beautiful archival photo boxes that you can organize your photos into.
4×6 Archival Photo Boxes
This Gray and Rose Gold Photo Box with Geometric Pattern is so pretty that it would fit in many modern family rooms or offices. They are super cute and will protect your photos.
If those are not really style, I love these Damasus Print Photo Boxes. I love how these look stored on a bookshelf. They are of archival material so you have no worries about them damaging your photos.
Stores like Hobby Lobby also have a large collection of photo storage boxes.
Photo Box for Large Photos
4×6 boxes are great and will probably organize most of your photos, because it’s the most popular size to have photos printed in. But what about those beautiful old 8 x 10 photos or 5x 7 photos? I found this museum quality large photo box. It’s large enough to fit in those larger photos they may not have a frame or home. Of course, it is also made of archival material and will not hurt your photos.
IMPORTANT THINGS TO KNOW ABOUT PHOTO BOXES AND ARCHIVAL MATERIAL
It may be tempting to get some boxes and just DIY some photo boxes, but you could be causing damage to your photos without realizing it.
That’s why when your are deciding on photo boxes you need to make sure that they are made of archival material and your photos will be safe in them.
Also never store your photos, even in archival boxes, in the garage, attic or basement. Not only is the temperature likely to have major changes but also the humidity will likely change more frequently than in your home. This will make your photos deteriorate faster.
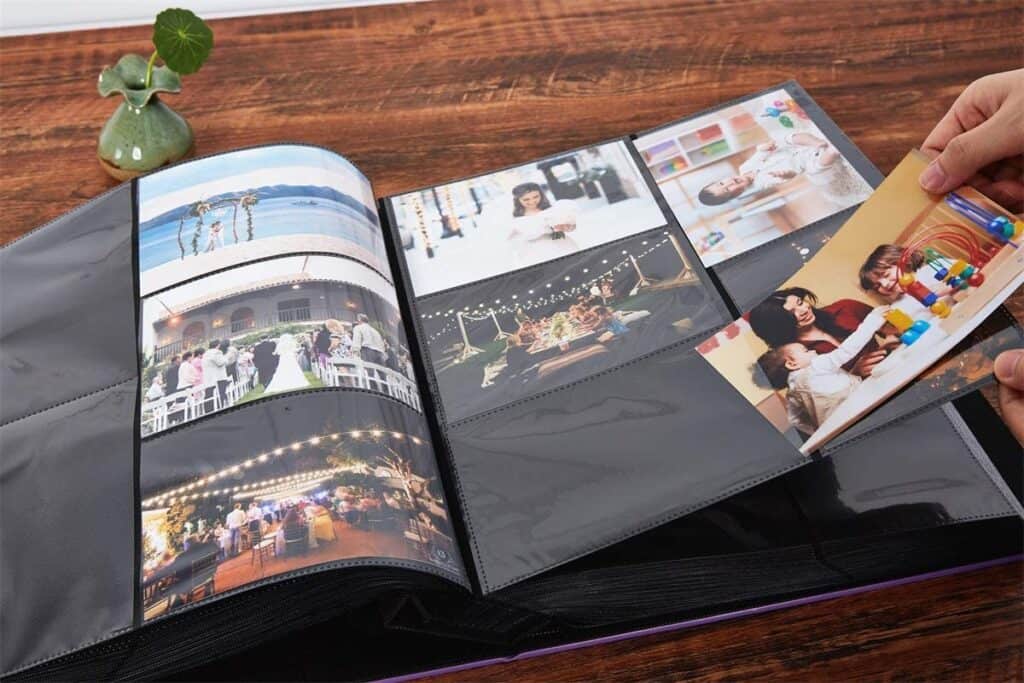
Organize your Photos into Photo Albums
If you have time and are wanting to display your family photos in a way that people can easily look through them with out leaving the oils from their fingers all over the photos, you should use photo albums.
Choosing An Archival Photo Album
When you are choosing a photo album you want to make sure that your album is archival and is safe to store photos in.
Also do not use non-archival glues or tape as it will damage your photos and lead to deterioration over time.
One of my favorite archival photo albums is this Leather Hard covered one on Amazon.
Organizing your photos can be a huge undertaking, but with the right steps you can make it much easier. First organize your digital photos by deleting any junk photos and back them up to a cloud service, then choose how to display them.
Once you get your digital photos organized and displayed, you can take on your physical photos scanning them into a cloud service then deciding on the best archival storage for your photos either photo boxes or photo albums.
Keeping Photos Organized Long Term
We have covered lots of ways to organize photos as well as how to digitize your old photos. No matter what method you use to organize your photos, keep in mind that you want to keep any future photos you take organized as well.
The best way to do that is pick a method now and stick with it long term.
If you plan to have all your photos digitized, as you take them remember to organize them into albums and back them up to your cloud provider.
When you get photos printed, organize and store them in your photo boxes or albums right away.
Organizing photos going forward will be much simpler when you pick a method and stick with it!
