This Post May Contain Affiliate Links. We earn a commission if you click this link and make a purchase at no additional cost to you.
Keeping your fridge clean and organized can be hard work and time-consuming! You may know exactly where everything goes in your fridge but your family members may not and they just throw everything in there, right? It can be incredibly frustrating. This happened to me a few days ago when we came home from our beach vacation. We had a cooler full of leftover food and my husband tossed it all in the fridge pretty carelessly. Needless to say, it made my organization genes cringe! I really wanted to shut the refrigerator door and run far away! But I also thought this would be a great teaching moment to show you exactly how to clean and organize your fridge!
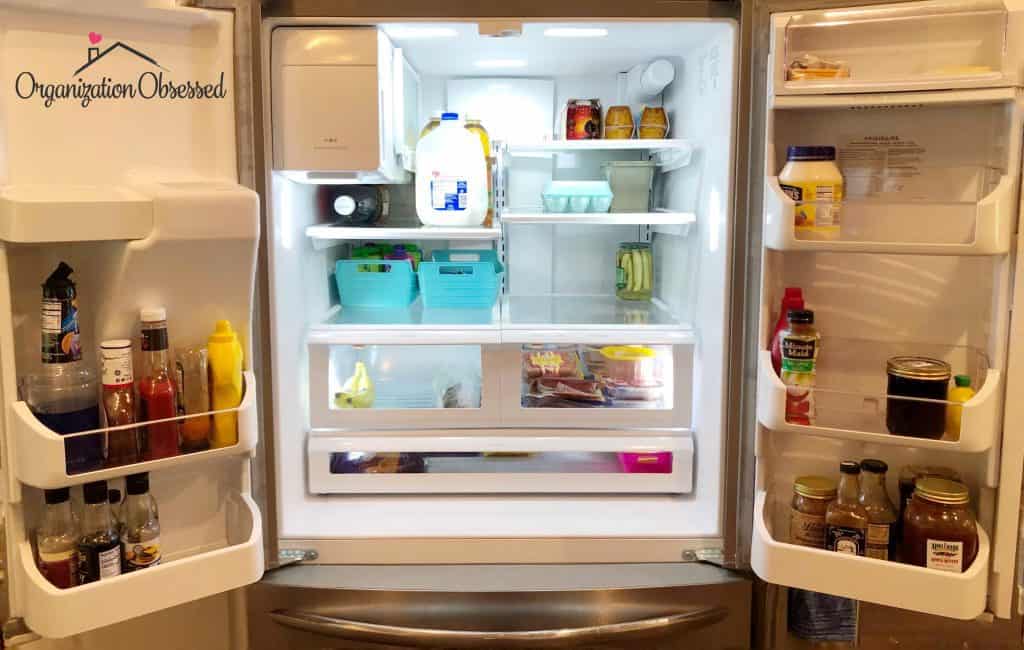
This is how my fridge looked before it got a major cleaning.
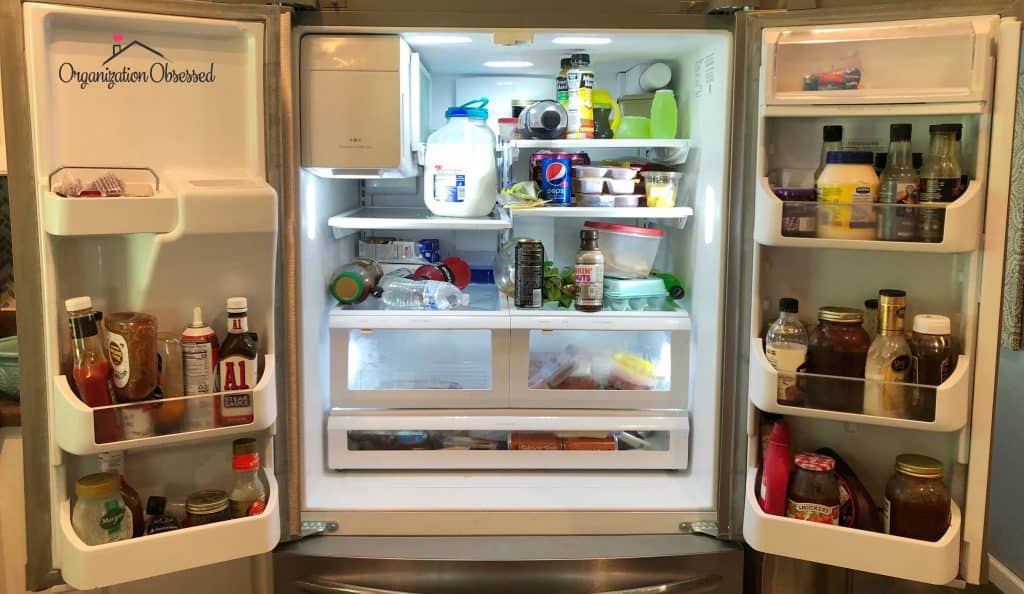
Yikes! Not only was it cluttered and disorganized, it really needed a good cleaning. If your fridge looks anything like this, know you are not alone and it happens to everyone…like weekly 🙂
It is no secret that most areas of our home have to cleaned and organized over and over again. So if you are not sure the best way to clean and organize your fridge, keep reading! This method is super simple and will have your fridge clean and organized in no time!
Step One: Remove Everything
First, start by taking everything out of your fridge. Seriously Everything. This is the hardest step. This is when you need to take a look at your food and decide if you want to keep it or toss it. Has that item expired? Have you had it a while and you know you’re not going to use it? Do you have 2 bottles of barbeque sauce that are half empty that you could combine?
This step is really important for obtaining a clean fridge. I threw away a ton of condiments in this step as well as cheese and lunchmeat that we had no intention of eating. Don’t be afraid to throw things away! If you know you buy a new bottle of soy sauce every time you make general tso’s chicken then feel free to throw away the half-full bottles taking up shelf space.
Step Two: Wipe Down Shelves
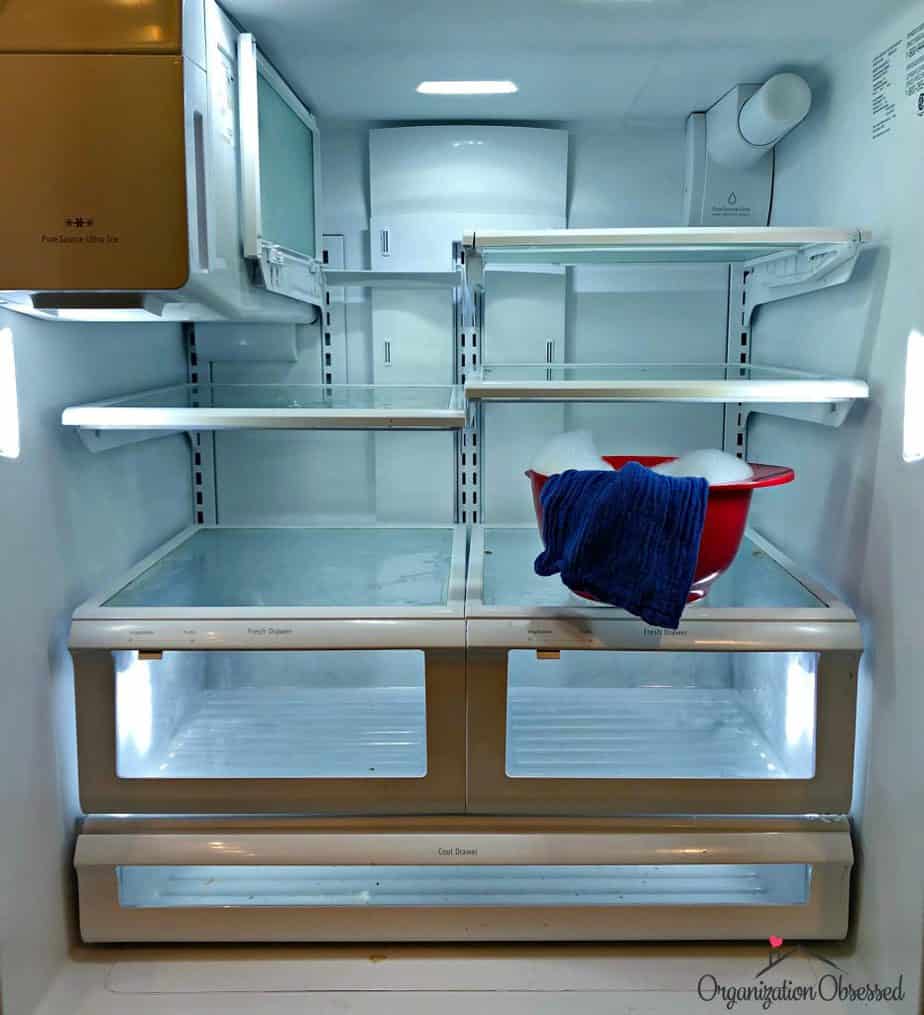
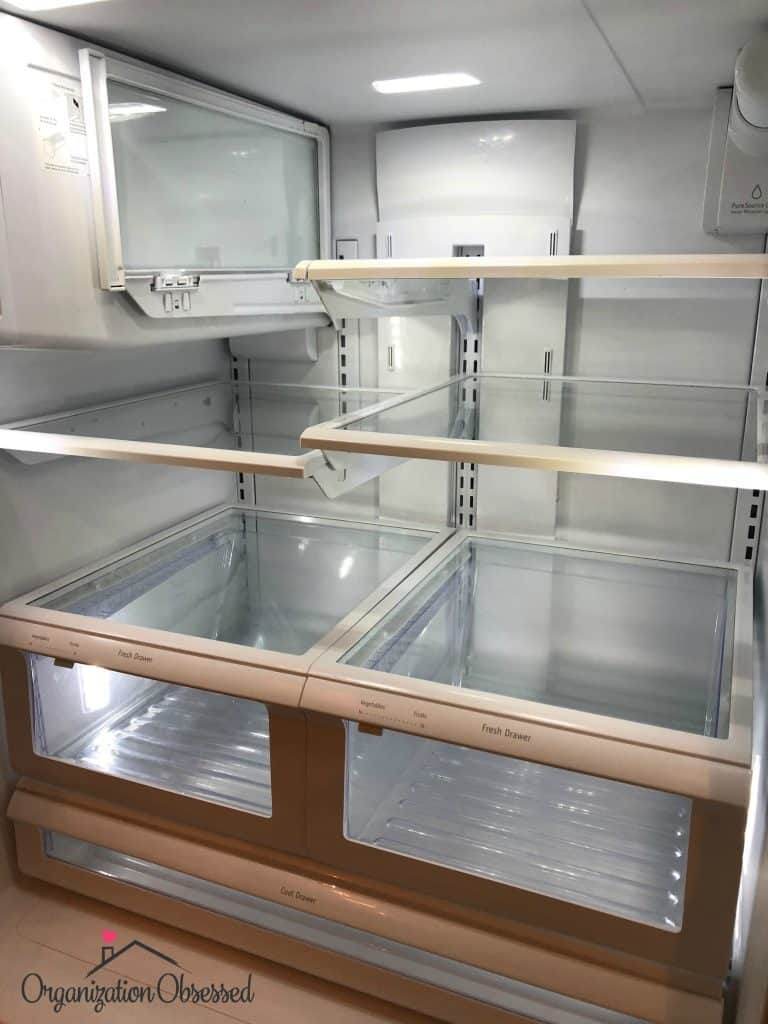
Once your fridge is completely empty, you will want to grab a bowl and fill it with hot water and a few drops of dawn dish soap. I used a medium-sized mixing bowl and my go to cleaning rags. Start by wiping off the top of your shelves. You may need to use an old toothbrush or a dish sponge to remove any dirt and grime from the crevices of your shelves. Next move to the bottoms of the shelves, wiping off the bottom side of the glass. If you find this is hard to do, you can always remove the shelf to clean it and then replace it once you are finished. I chose to leave my shelves in place because I wanted this to be simple and quick!
Step Three: Remove Drawers
Next, I moved on to the drawers. I removed both crisper drawers and cool drawer to knock out the dirt left behind from fruits and vegetables. What I couldn’t knock out, I swept up with my Shark Vacuum. Once you have removed all the dirt from your drawers, you can wipe them clean with your wet rag or place them in your sink and scrub them clean. I had to use both methods here due to one drawer being much dirtier than the other.
Before you replace your drawers you want to remove them all and clean out the very bottom of your fridge. You may be surprised to find a ton of dirt and food at the bottom of your fridge! Mine was hiding spilled pickle juice (yuck)! Who knows how it got there but I would have never known it was there if I hadn’t removed all of the drawers. This is an area you do not want to miss, so be sure to remove all the drawers or anything that blocks your access to the outer shell of the fridge.
When you have access to the bottom of the fridge, give it a good scrubbing and scrub the sides of your fridge as well.
Lastly, remove the shelves from the doors of your fridge and wash them in your sink. This is the easiest way to remove all the dirt from the tight spaces and corners of door shelves.
If you have gone over your whole fridge, cleaning every surface and crevis, your fridge will hopefully sparkle like its brand new! I was pleasantly surprised at how well just hot water and Dawn dish soap removed the dirt and grime from my fridge.
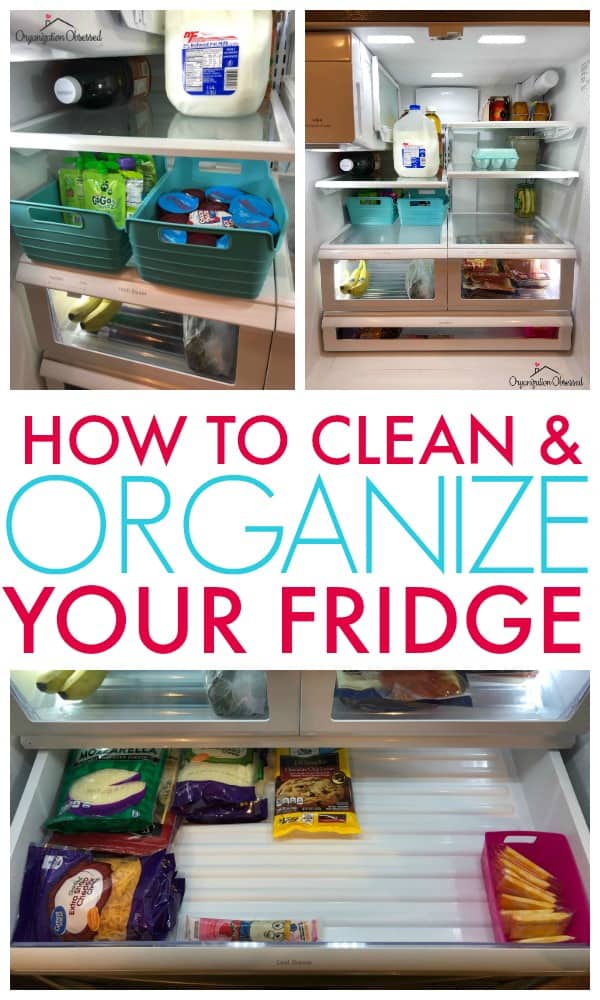
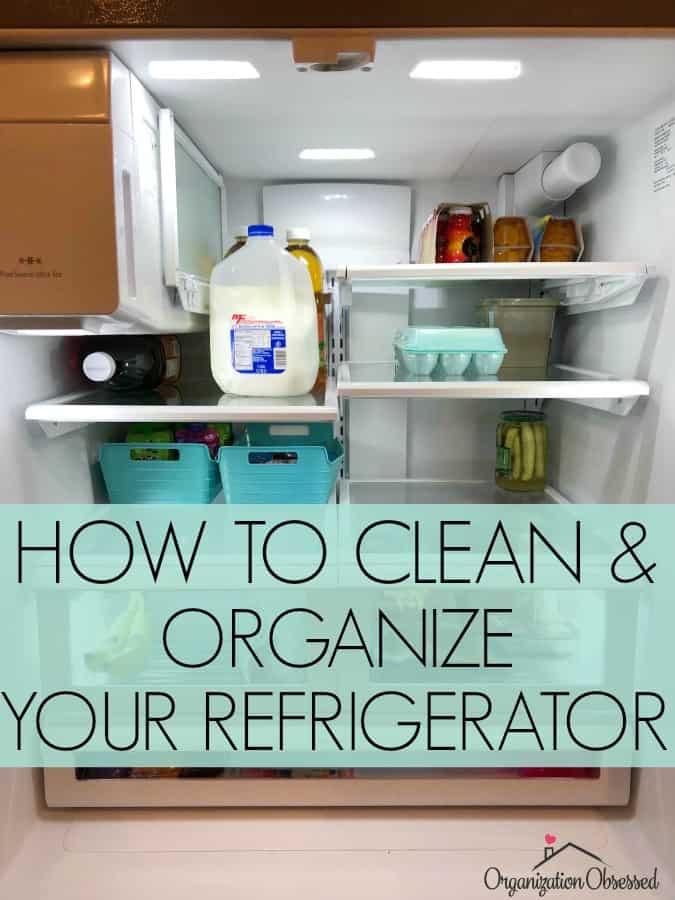
Step Four: Start Organizing
It’s time to start putting your food back in the fridge! I recommend filling your fridge by category. Start with your cheeses and put them all together in your drawer. Stack them nice and neatly or use bins to organize them. For our bags of cheese, I stack them by type and date so that we use the oldest cheese first. We also like to buy the little snack packs of cheese. I grabbed a bin from the Dollar Tree that held these perfectly. Before they would slide all around the drawer and get lost but now they are all organized in one convenient spot. Then move on to your next food category: meats, fruits, etc.
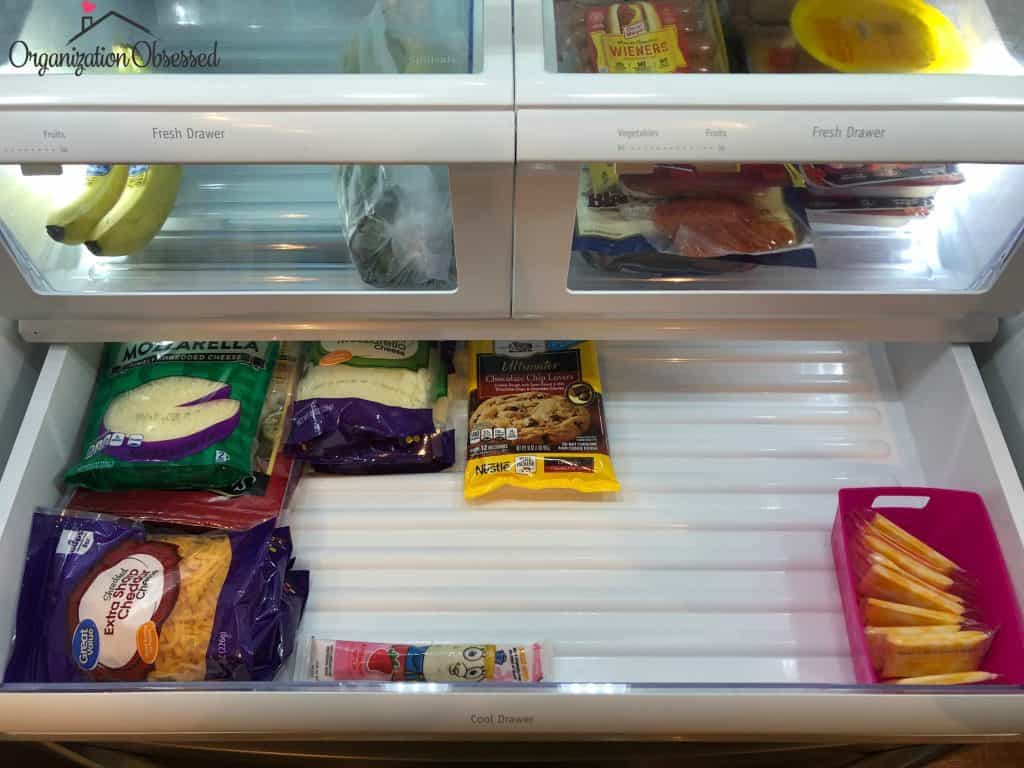
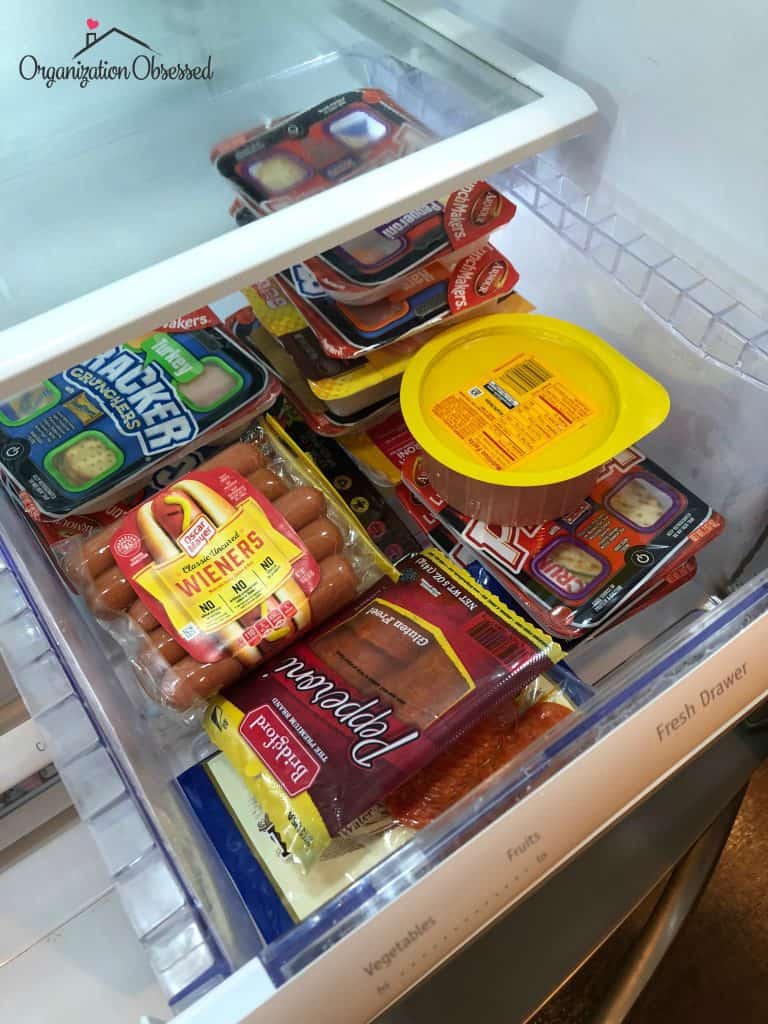
Feel free to get creative with where you store different foods. We use the higher humidity drawers to store our lunch meats. We have found that they last a lot longer when we store lunch meats there. You can also store snacks, fruits or vegetables in these drawers!
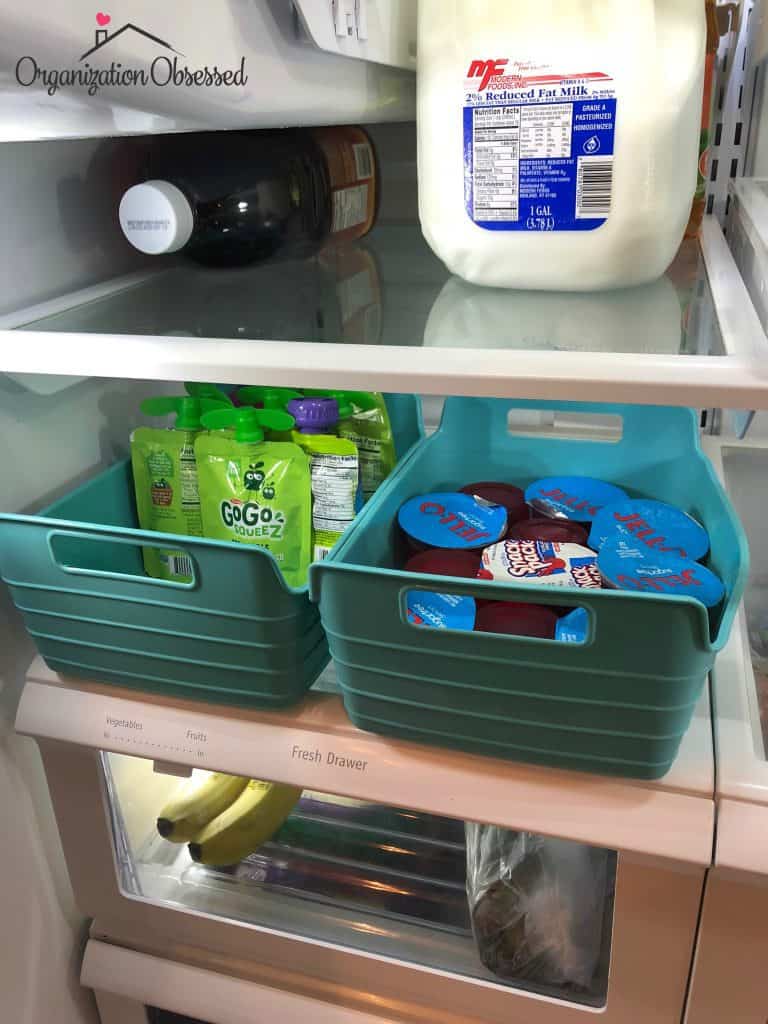
Another great way to organize your food that you buy frequently is with storage containers. I used two silicone containers I recently found at Aldi’s for Jello and our toddlers Apple Sauce but you could use any storage containers that fit. A lot of people like to use clear storage containers! I highly recommend these so you can see exactly what you have in the fridge. You can find containers made specifically for refrigerator storage on Amazon and sometimes at TJ Maxx. Using storage containers is also a great way to teach your family how to keep the fridge organized. When everything has a specific place it is stored, it is much easier to put that item back in the same spot each time.
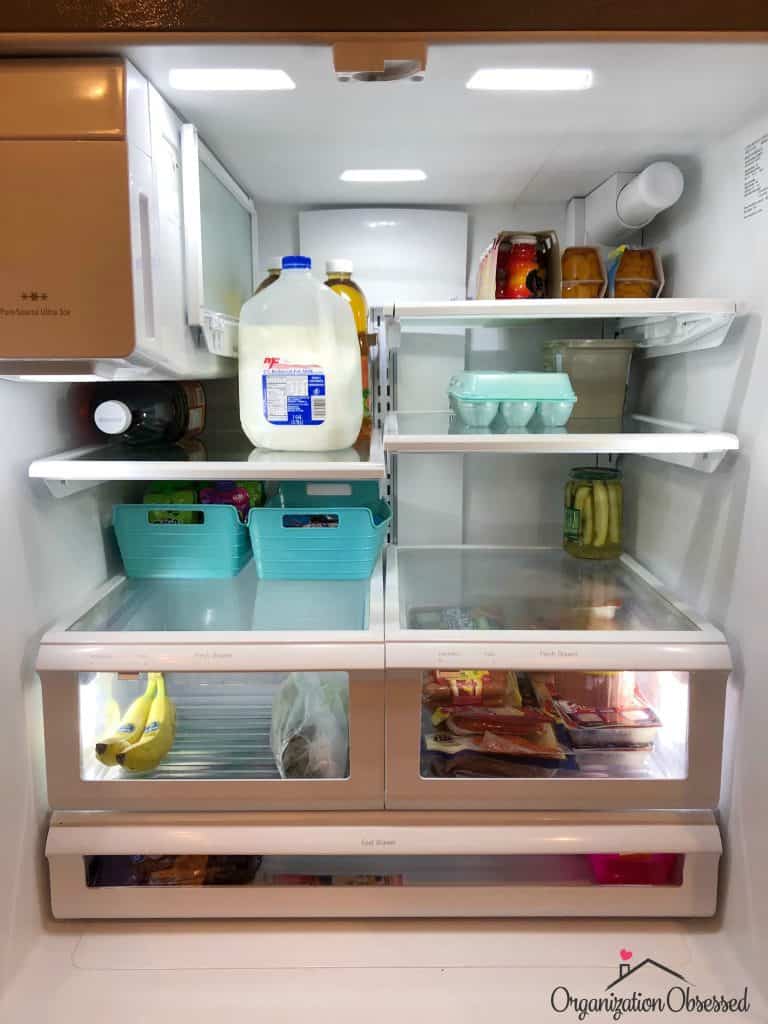
For the doors, I like to group items together by how we use them. I keep the ketchup and mustard together, as well as the barbeque sauce we use frequently. Sauces we rarely use I keep on the bottom shelves. We keep cheese slices and butter stick in the top shelf on the right. Normally I would also keep ranch or any other salad dressing with the mayonnaise on the top shelf of the drawer.
And that’s it! Comment below and let me know how you clean and organize your fridge!
You May Also Like: How To Maximize Your Freezer Storage Space
Enjoyed this post? Pin for later!


Leave a Reply