This Post May Contain Affiliate Links. We earn a commission if you click this link and make a purchase at no additional cost to you.
When we remodeled our camper last year I search high and low on Pinterest to figure out how to reupholster camper cushions by myself. We were remodeling our camper on a budget and I didn’t want to pay someone to reupholster them for me. I found a lot of useful tips but none of them were exactly what I was looking for. So I took all those great ideas and combined them into the perfect way to reupholster camper cushions! Keep reading to find out how to reupholster camper cushions the easy way!
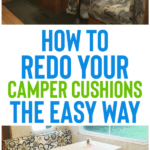
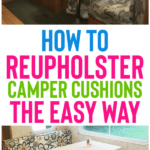
How To Reupholster Camper Cushions
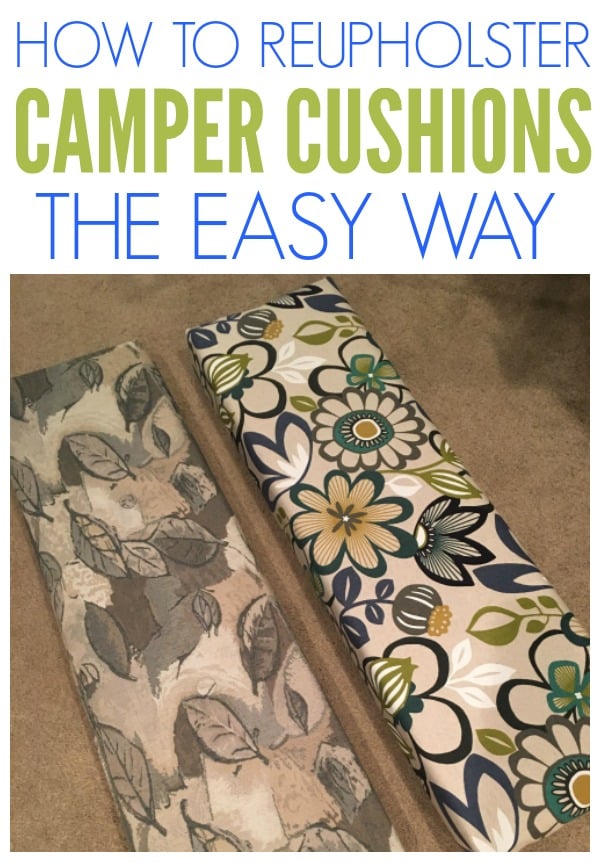
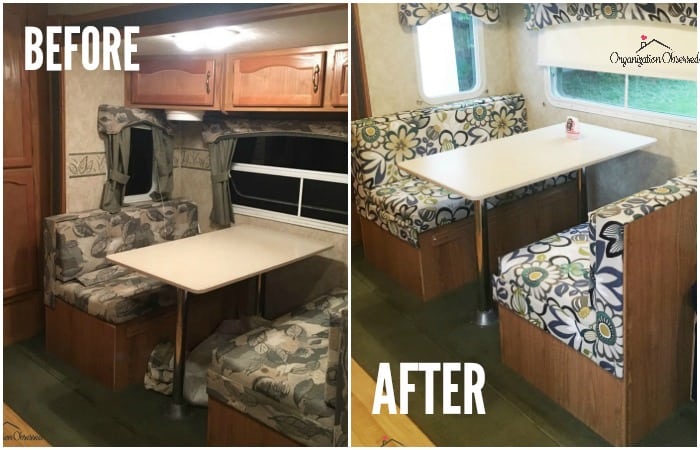
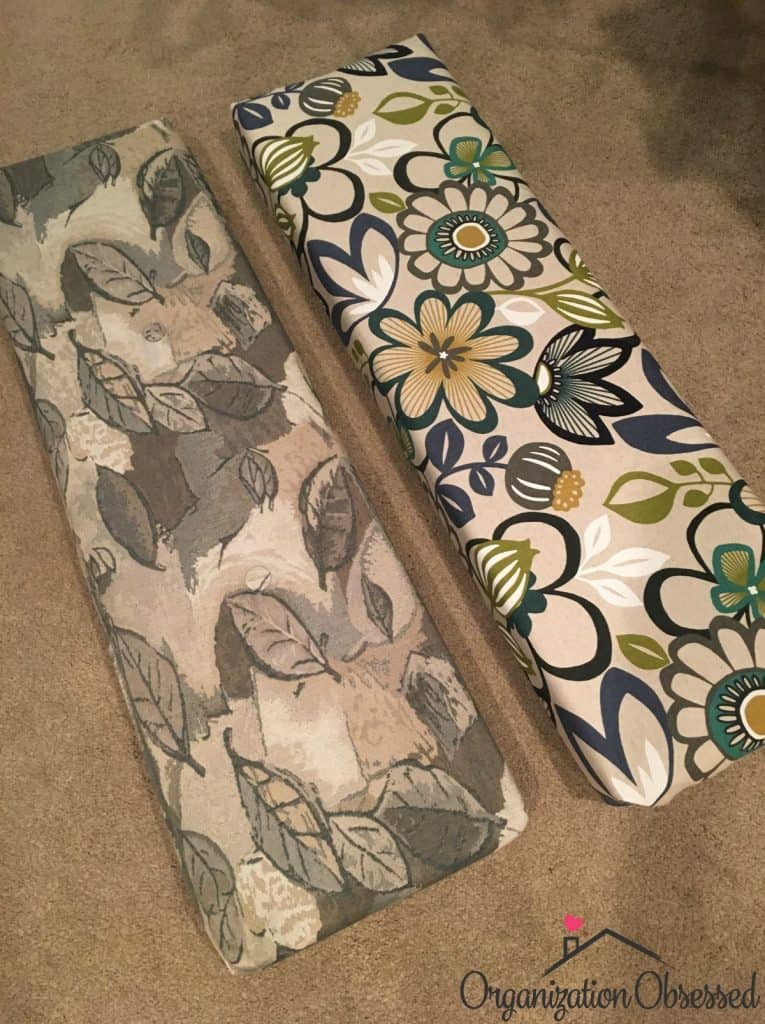
The fabric on our camper cushions had been worn out over the years and I wanted to give our camper a new and refreshed look. We ended up finding the perfect fabric from fabric.com. It is a canvas fabric which I highly recommend. You want something that will be durable and hold up against wear and tear and any possible stains.
To reupholster our camper cushions we used a method I like to refer to as the gift wrapping method because you are going to apply the fabric just like you would wrap a gift!
What you will need:
- Fabric of your choice – ours came from fabric.com and is called Richloom R Gallery Breakaway Breeze!
- 1/4″ Lauan Plywood Sheet – We used a 4 x 8 ft sheet and had plenty left over
- Spray Adhesive
- Electric Staple Gun
- Staples
- Electric Sander
Steps for reupholstering camper cushions
Step 1
First, start by removing your cushions from the bench. I left the old cushion covers on but if for some reason you need to remove them you can still use these steps to reupholster!
You will need to measure the length and width of each cushion leaving 1/2″ to 1″ to spare. You will want your lauan to be smaller than your cushion.
Once you have your measurements you will cut out a rectangle from the Lauan plywood measuring the size of your cushion. My husband used a circular saw to make the cuts. Do this for all four cushions.
Now, once you have your boards cut, take an electric sander and sand off any splinters or rough wood. You can also use a hand sander if you wish!
Step 2
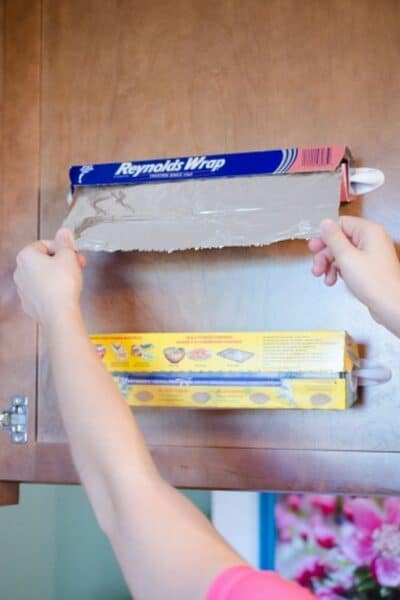
Next, you’ll attach the lauan to the cushion. Make sure you have the bottom of the cushion facing up towards you. Take your spray adhesive and heavily coat the cushion.
Once the adhesive is applied quickly center the lauan on the cushion and apply force for 30 seconds to 1 minute for the adhesive to dry.
When you can pull up on the lauan and the cushion comes with it, you are good to go!
Step 3
It’s time to start wrapping!
Center your cushion top down in the center of your fabric.
Make sure to leave enough room on each side to cover the whole cushion.
On the long edge of the cushion pull the fabric up to meet the center of the lauan. Making sure the fabric is straight, centered as you like and there are no wrinkles.
Then staple the fabric to the lauan with your staple gun.
Move on to the opposite long edge of the cushion and do the same. Make sure to pull the fabric as tight as you can! This will avoid there being wrinkles or the fabric looking saggy.
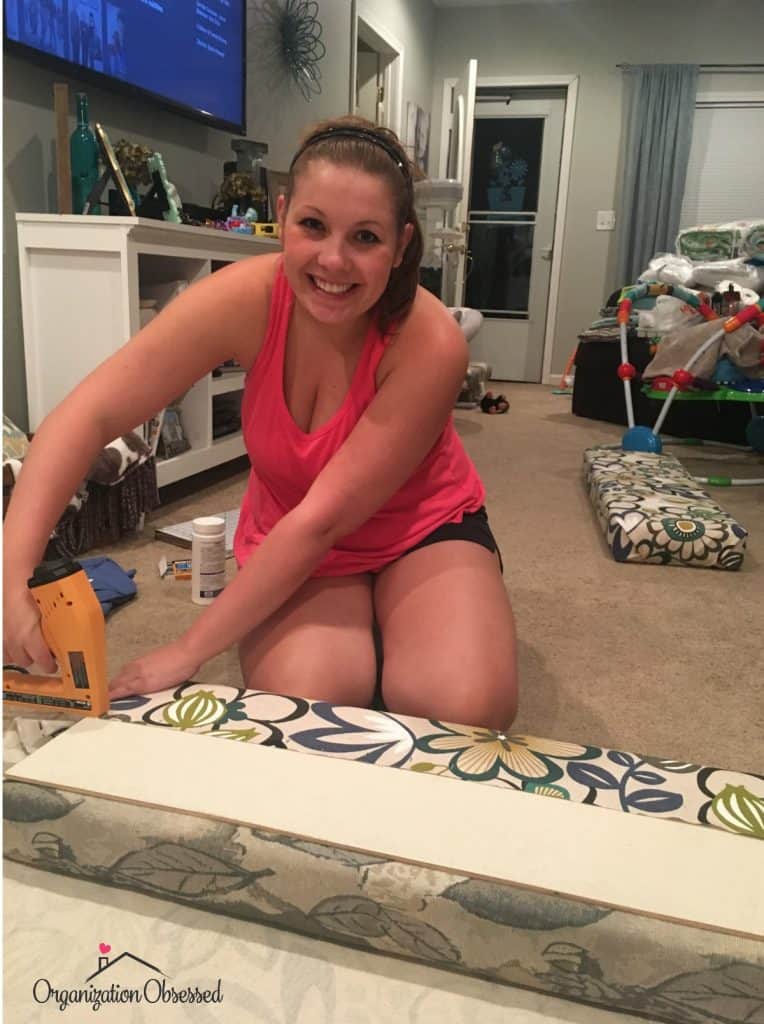
Lastly, fold the edges just like you would a Christmas present and staple the fabric to the lauan.
Trim off any excess fabric and add any extra staples to secure the fabric. I stapled every inch or two just so I never had to worry about the fabric shifting or coming off.
Finale
That’s it! This method is super simple and easy! We had our all of our camper cushions reupholstered in one evening and it was much easier than trying to sew new cases for each cushion. Plus the lauan gives your cushions extra support and makes your camper benches more durable!
Comment below and let me know what you think!
You May Also Like: 12 Ways To Organize Your Camper or RV